Last week I was deep into a portrait edit, chasing a warm film look I had in my head, and somewhere between pushing Dehaze too far and getting aggressive with the HSL panel, I lost the plot completely. The image looked like it had been processed by someone who had never seen a photograph before. We’ve all been there. The instinct is to hit Undo fifteen times or just reset the whole develop module and start over, but both options are slower than they need to be — and a full reset throws out the adjustments that were actually working.
That’s exactly why this Scott Kelby tutorial landed so well for me when I revisited it. It’s a short one, part of the Lightroom Killer Tips “Tip Tuesday” series, but it covers a reset workflow that I now use almost every single session.
The Problem with Dragging Sliders Back by Eye
Before getting into the technique itself, it’s worth naming why this matters. When you’re working in the Basic panel or the HSL panel and a slider has drifted somewhere it shouldn’t be, the natural move is to click and drag it back toward zero. The problem is that “close to zero” is not the same as zero. You might land at -2 or +1 and not even notice, and that tiny residual value can compound with other adjustments in ways you’ll feel but won’t be able to easily diagnose. Precision matters, especially when you’re building on top of a base edit.
Eyeballing a slider back to neutral is a habit worth breaking.
The Double-Click Reset (One Slider at a Time)
Scott’s technique is simple enough that it almost feels too obvious once you know it, which is the hallmark of a genuinely good tip. To reset any single slider in Lightroom to zero, just double-click directly on the slider’s label, not the slider itself, but the text name next to it.
So if your Highlights slider is sitting at -73 and you want to zero it out, you double-click the word “Highlights” and it snaps immediately to 0. No dragging, no typing, no right-click menu hunting. It works across virtually every slider in the Develop module, including the Basic panel, the Tone Curve point controls, HSL, and the Detail panel.
This applies to named labels throughout the panel. Double-click “Clarity” and it resets. Double-click “Vibrance” and it resets. The behavior is consistent, which means once you build the muscle memory in one panel, it transfers everywhere.
Resetting an Entire Panel Section at Once
Here’s where the tip gets genuinely powerful. You can reset an entire group of sliders in one move by double-clicking the section label, which is the header text for that panel group.
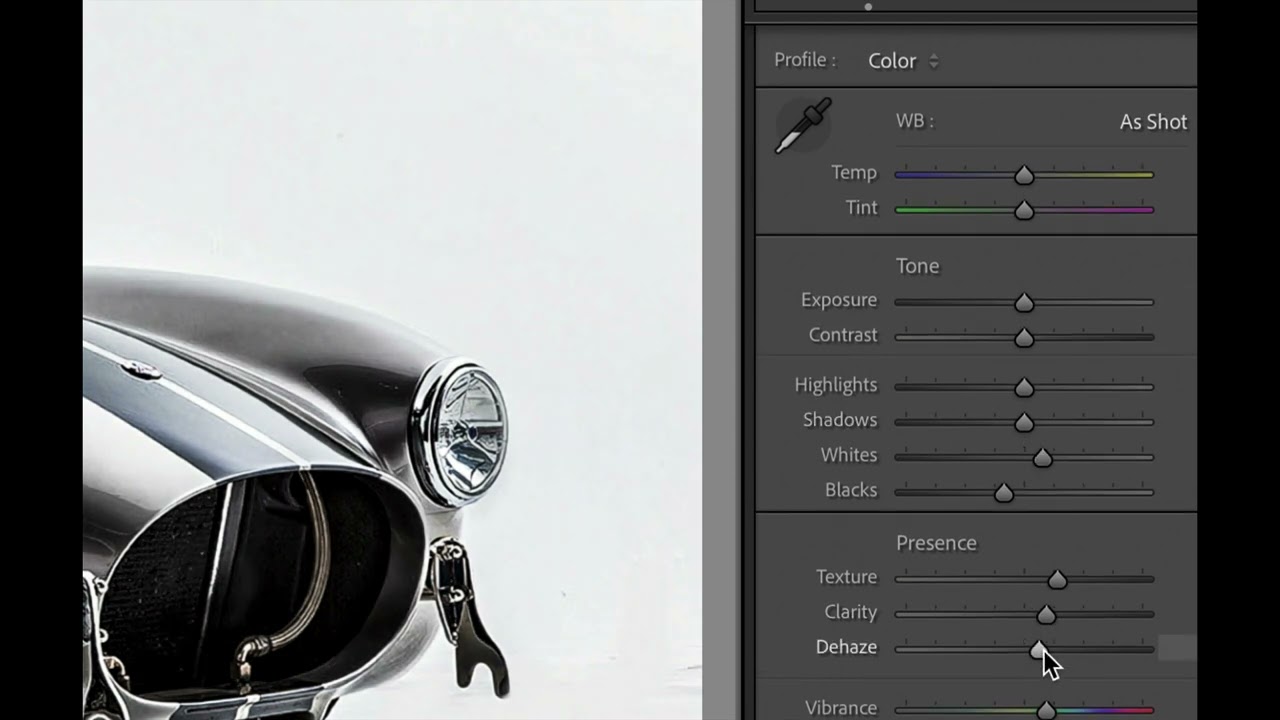
In the Basic panel, for example, the sliders are divided into groups. There’s the Tone section, which includes Exposure, Contrast, Highlights, Shadows, Whites, and Blacks. If you double-click the word “Tone” (the label sitting above that cluster of sliders), all six of those reset to zero simultaneously.
The same logic applies to the Presence section, which houses Texture, Clarity, Dehaze, Vibrance, and Saturation. Double-click “Presence” and the whole group resets at once.
This is the version of the trick I reach for most. When an edit is going sideways and I can identify that the problem lives in one section, like I’ve been too heavy-handed with the Tone sliders, I can zero out just that group and re-approach it without disturbing anything else I’ve done. It’s surgical in a way that a full module reset is not.
Where I’d Push This Further (or Pull Back)
My one addition to Scott’s workflow is combining this reset technique with a snapshot taken before I start experimenting. Lightroom’s Snapshots panel, sitting in the left column of the Develop module, lets you save the current state of your entire edit with a single click. I name mine after whatever phase I’m in, something like “base tone done” or “pre-HSL.” That way, if I go off the rails and use the section reset to undo a cluster of changes, I have a named restore point to compare against rather than relying on History, which can be a long scroll deep into a session.
The one place the double-click reset can trip you up is if your panel labels have been moved or if you’re working with a third-party plugin that adds its own slider panels. Some plugin panels don’t inherit this behavior. I’ve hit that wall with a few color grading plugins where the double-click does nothing, and you end up needing to use that plugin’s own reset controls. Worth knowing before you assume it works everywhere.
The Real Value Is Speed Under Pressure
The deeper reason this technique matters is not just efficiency, though it is faster. It’s that it reduces friction during the creative part of an edit. When resetting a slider costs you three seconds instead of one, that cost adds up, and more importantly, it breaks the flow of the edit. Anything that keeps you in the image rather than managing the software is worth internalizing.
Double-click the label to reset one slider. Double-click the section header to reset the whole group. That’s the whole technique, and it’s one of those things that becomes invisible once it’s part of how you work, which is exactly what the best workflow habits do.
Watch Scott Kelby’s full tutorial for the visual walkthrough, seeing the sliders snap to zero in real time makes the technique click faster than any written description can.
Comments (2)
I've been looking for exactly this kind of tutorial. Perfect timing.
Well explained. I think my audience would really benefit from this — mind if I link to it?
Leave a Comment