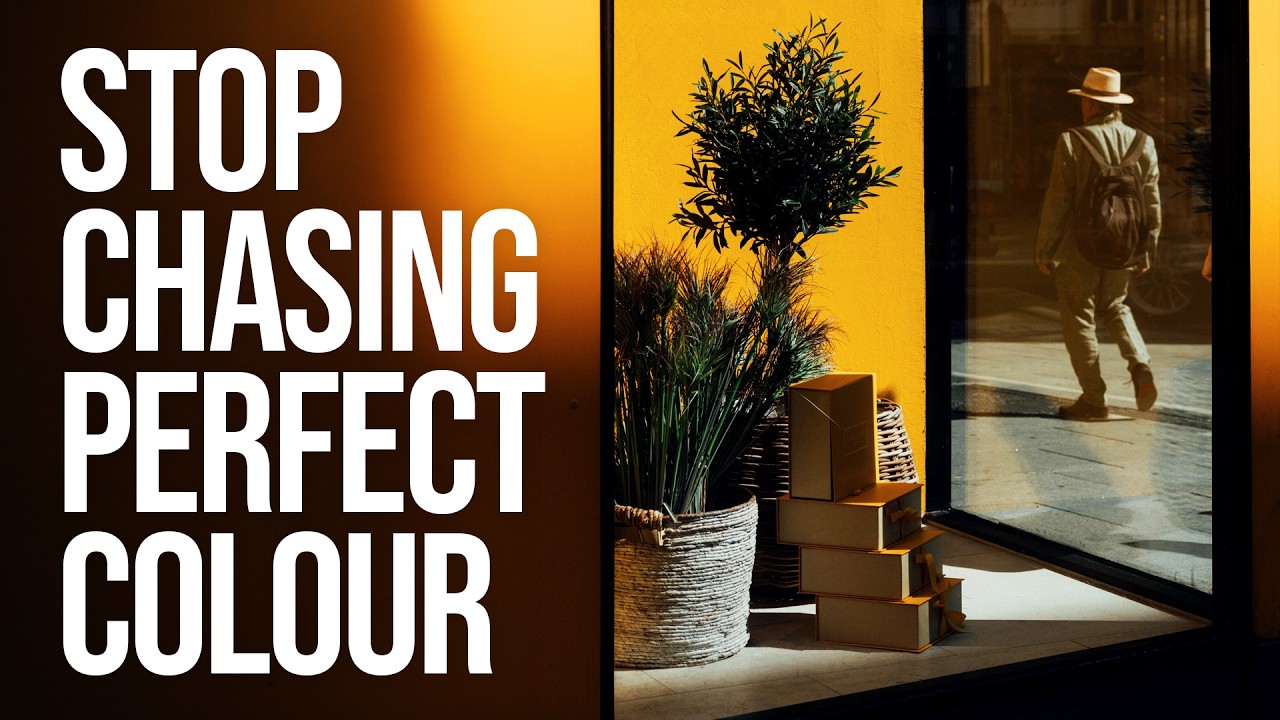
I used to name my presets after the feeling I was chasing. “Golden Hour Desperate.” “Blue That Isn’t Too Blue.” “Please Just Look Natural.” If you’ve ever stared at a raw file wondering whether your color instincts are broken, you already know the spiral I’m describing. Raw files are neutral by design, which is a gift and a curse. Film photographers had Kodachrome or Kodak Gold making the color decisions for them. We have a blank canvas and too many sliders.
In this Sean Tucker tutorial, Watch the full tutorial on YouTube, he walks through something that rarely gets discussed directly: the psychological arc most photographers travel with color editing. Overprocessing, then overcorrecting into fearful neutrality, then finally landing on something he calls intentional processing. I watched it expecting a technical breakdown and got something that felt more like a mirror. The technique that comes out of it is genuinely useful, but the framing is what makes it stick.
What changed for me personally was recognizing that my “clean and natural” phase wasn’t artistic integrity. It was avoidance. I’d spent two years keeping my edits so restrained that nobody could criticize them, which also meant nobody could feel anything from them. Tucker’s video named that pattern clearly, and then showed a practical path forward. Here’s how that path translates into a working Lightroom process.
Step 1: Audit Where You Actually Are
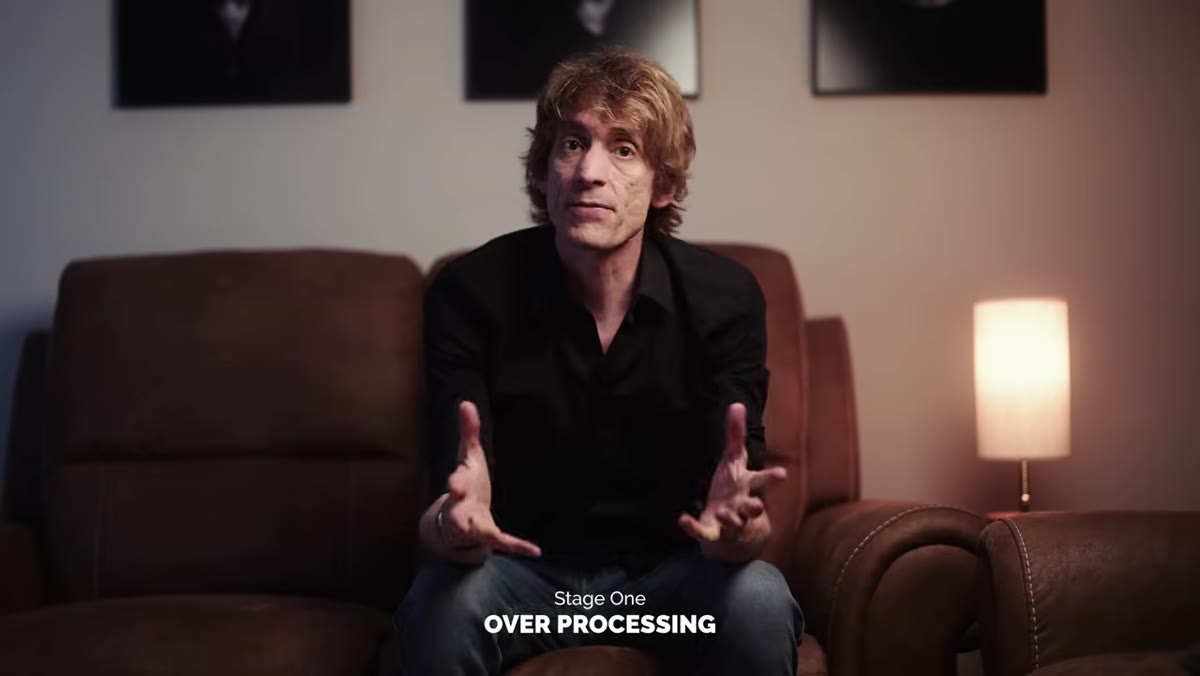 Tucker describing three distinct phases of color editing
Before you touch a single slider, Tucker’s framework asks you to honestly identify which stage you’re in. Are you in the overprocessing phase, riding saturation and contrast because more always feels like better? Are you in the fearful neutrality phase, keeping everything flat because at least nobody can call you heavy-handed? Or are you making deliberate, confident choices about color with a clear reason behind each one?
Tucker describing three distinct phases of color editing
Before you touch a single slider, Tucker’s framework asks you to honestly identify which stage you’re in. Are you in the overprocessing phase, riding saturation and contrast because more always feels like better? Are you in the fearful neutrality phase, keeping everything flat because at least nobody can call you heavy-handed? Or are you making deliberate, confident choices about color with a clear reason behind each one?
This isn’t a rhetorical warmup. It’s diagnostic. If you open Lightroom and immediately reach for the Vibrance slider out of habit, that’s a signal. If you finish an edit and feel vaguely dissatisfied but can’t articulate why, that’s a signal too. Spend five minutes looking at your last ten exports with this lens before moving on.
Step 2: Start With a Reference Point, Not a Blank Slate
 Tucker applying a Kodachrome-style preset to test images
Tucker’s turning point came from applying a Kodachrome-style preset to his images, not to use it as a final look, but to use it as a conversation starter. The preset gave him a reference point with intentional color decisions already baked in, so he could react to something specific rather than guessing from zero.
Tucker applying a Kodachrome-style preset to test images
Tucker’s turning point came from applying a Kodachrome-style preset to his images, not to use it as a final look, but to use it as a conversation starter. The preset gave him a reference point with intentional color decisions already baked in, so he could react to something specific rather than guessing from zero.
In Lightroom, this means pulling up a preset you respect, or even a strong edit you’ve done before, and applying it to a fresh image just to see where it lands. You’re not committing to it. You’re giving yourself something to push against. The Develop module’s History panel makes this safe. Apply the preset, study what it’s doing to your specific tones, then start pulling it apart to understand the decisions underneath.
Step 3: Isolate What You Actually Like
 Tucker noting which elements of the preset felt right
When Tucker applied that Kodachrome preset, his immediate reaction was: I like parts of this. Not all of it, not on every image, but something specific was working. That precision matters. “I like it” is a feeling. “I like what it’s doing to the warm midtones but the cyan shift in the shadows isn’t mine” is a starting point for building your own voice.
Tucker noting which elements of the preset felt right
When Tucker applied that Kodachrome preset, his immediate reaction was: I like parts of this. Not all of it, not on every image, but something specific was working. That precision matters. “I like it” is a feeling. “I like what it’s doing to the warm midtones but the cyan shift in the shadows isn’t mine” is a starting point for building your own voice.
In the HSL panel in Lightroom, start identifying the specific color channels that feel right versus the ones that feel foreign. Use the targeted adjustment tool, the small circle icon at the top left of the HSL panel, click and drag directly on a color in your image to see which channels are actually controlling it. This turns a vague aesthetic reaction into a specific set of values you can replicate or reject deliberately.
Step 4: Build Your Decisions in Layers, Not All at Once
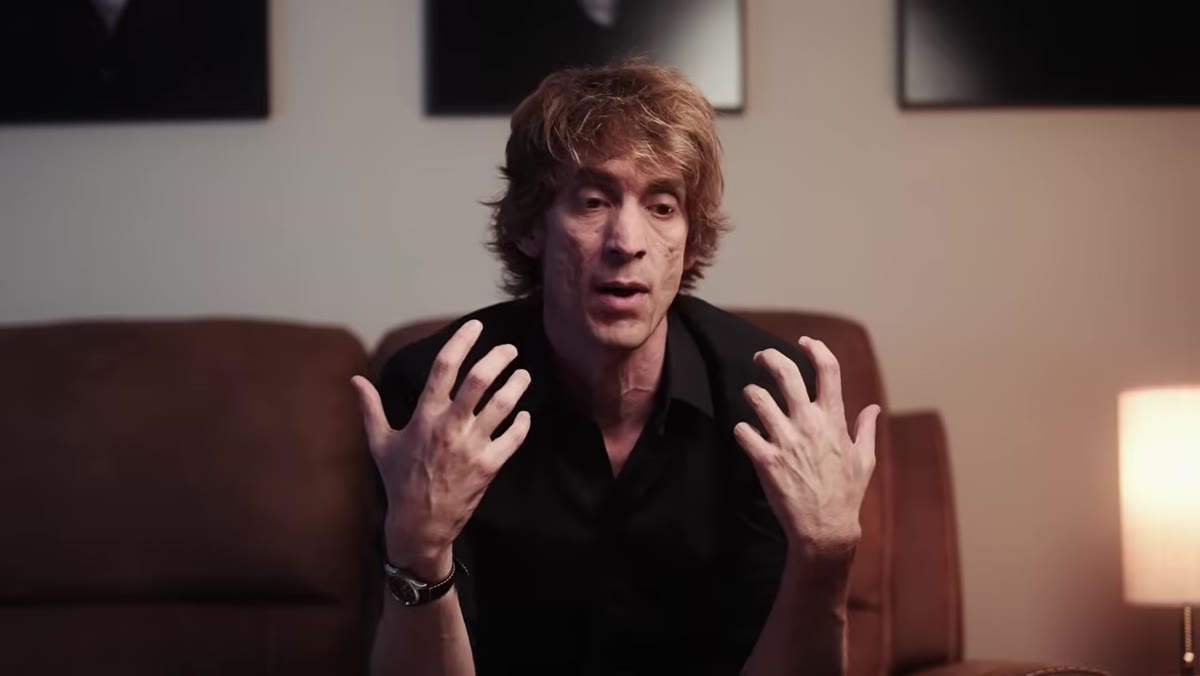 Tucker discussing the problem with making too many changes simultaneously
One of the quieter points Tucker makes is about how overprocessing usually happens in a single uncritical session where every adjustment feeds the next one. The fix isn’t to do less. It’s to slow down and make each decision visible to yourself.
Tucker discussing the problem with making too many changes simultaneously
One of the quieter points Tucker makes is about how overprocessing usually happens in a single uncritical session where every adjustment feeds the next one. The fix isn’t to do less. It’s to slow down and make each decision visible to yourself.
In Lightroom, a practical version of this is working through the Basic panel top to bottom, but stopping after each major adjustment, Exposure, Contrast, Highlights, Shadows, and asking whether that single change moved the image toward or away from your intention. Then use the Color Grading panel for shadows, midtones, and highlights separately rather than reaching for a global Vibrance boost. Each wheel represents a deliberate statement about where in the tonal range you want color to live.
Step 5: Set a Limit Before You Start, Not After
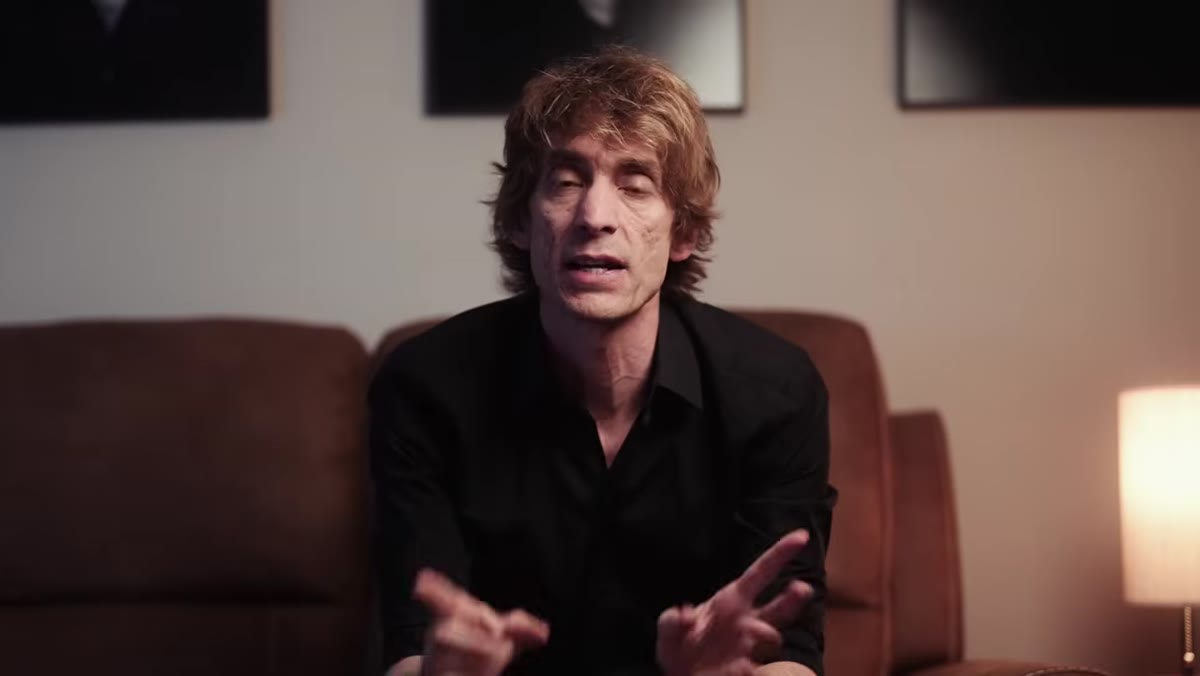 Tucker explaining how fear of judgment drove his neutral editing phase
Tucker’s neutral phase wasn’t the result of bad instincts. It was the result of using other people’s hypothetical judgment as his editing ceiling. The move he describes is replacing “how will this look to other photographers” with “what does this image need to say.” Those two questions produce very different edits.
Tucker explaining how fear of judgment drove his neutral editing phase
Tucker’s neutral phase wasn’t the result of bad instincts. It was the result of using other people’s hypothetical judgment as his editing ceiling. The move he describes is replacing “how will this look to other photographers” with “what does this image need to say.” Those two questions produce very different edits.
A concrete way to operationalize this in Lightroom is to decide before you open a file what emotional register you’re editing toward. Warm and inviting. Stark and cool. Rich and saturated. Write it in the image metadata in the Caption field if you have to. Then when you’re forty minutes into an edit and your Saturation slider is creeping up, you have an anchor. The question becomes “does this serve the register I chose” rather than “is this too much.”
Step 6: Apply It Across a Series to Find the Gaps
 Tucker noting the preset didn’t always work on every image
Tucker is clear that the preset didn’t work on every image, and that inconsistency was valuable information. When you apply a consistent approach across a set of photos and some of them break, you learn where your system is fragile.
Tucker noting the preset didn’t always work on every image
Tucker is clear that the preset didn’t work on every image, and that inconsistency was valuable information. When you apply a consistent approach across a set of photos and some of them break, you learn where your system is fragile.
Export five to ten images with your current edit approach and view them together in the Library module’s Grid view at the same zoom level. Look for the ones that feel off. Usually the problem isn’t the global settings, it’s one specific color channel behaving differently because the light in that scene was different. That’s where targeted HSL adjustments or a local color correction with a masking brush become necessary, not optional.
What I’d Add From My Own Workflow
The one thing Tucker’s video doesn’t get into, and this is where I’d push further, is the value of editing in passes across different days. I’ll do an initial color pass, export a proof, then come back 24 hours later and look at it fresh. The things that seemed bold the night before often look exactly right the next morning, and the things I thought were subtle often read as muddy. Your eyes recalibrate overnight. Use that. Lightroom’s Snapshot feature, found in the left panel of the Develop module, lets you save states of an edit so you can compare your fresh-eyes reaction against your in-the-moment instincts without losing any work.
The single most important idea in this whole video is that neutral isn’t the same as tasteful, and restraint isn’t the same as intention. Knowing the difference between “I kept this subtle because it serves the image” and “I kept this subtle because I was scared” is the edit that actually changes your photography. Tucker walks through it honestly, with real examples from his own work and a clear technical path forward.
Watch the full tutorial on YouTube and pay particular attention to the moment he describes the preset as a conversation starter rather than a final answer. That reframe alone is worth the runtime.
Comments (5)
Solid advice. Especially the part about taking your time with it.
Finally someone explains this in a way that actually makes sense.
Excellent tutorial. I'd add that from a compositing standpoint, this technique is incredibly versatile.
This is the kind of content that keeps me coming back.
I've watched a dozen tutorials on this and yours is the clearest by far.
Leave a Comment