
Every time Adobe drops a Lightroom update, I do the same thing. I clear my afternoon, brew coffee, and sit down expecting a revelation. Sometimes I get one. Sometimes I get WebP support and a button that opens a web browser. The February 2026 update lands somewhere in the middle, and I want to be straight with you about that before you spend an hour hunting for features that aren’t really there.
Matt Kloskowski put together a concise breakdown of everything Adobe shipped this cycle, and I appreciated his honesty about it from the jump. This is not a “game-changing release” video. Watch the full tutorial on YouTube if you want to see him walk through it live. What I’m going to do here is pull out the actual mechanics of each new feature so you can decide, without any hype, whether any of this changes how you work.
For photographers running client shoots, the question with every update is simple: does this save me time or expand what I can deliver? Two of these three features are worth a genuine look. One of them you’ll probably ignore after today. Let’s go through them in order.
Step 1: Check the “What’s New” Screen After Updating
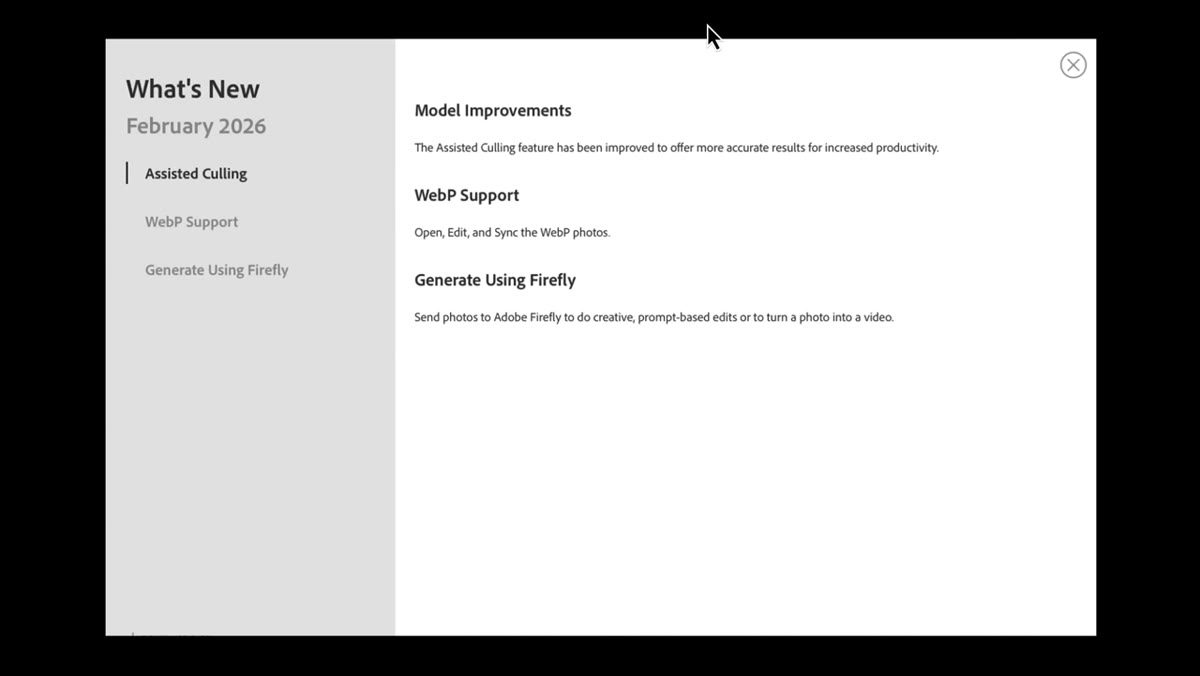 Lightroom Classic what’s new splash screen after update
When you install the February 2026 update and relaunch Lightroom Classic, Adobe greets you with a “What’s New” splash screen. Don’t close it immediately. This screen gives you a quick roadmap of everything that changed, and it takes about 20 seconds to read. Think of it as the table of contents before you go hunting through menus.
Lightroom Classic what’s new splash screen after update
When you install the February 2026 update and relaunch Lightroom Classic, Adobe greets you with a “What’s New” splash screen. Don’t close it immediately. This screen gives you a quick roadmap of everything that changed, and it takes about 20 seconds to read. Think of it as the table of contents before you go hunting through menus.
If you’ve already dismissed it, that’s fine. Everything covered in this update is accessible through the standard Library and File menus, and we’ll get to exactly where each feature lives.
Step 2: Understand the Assisted Culling Model Improvements
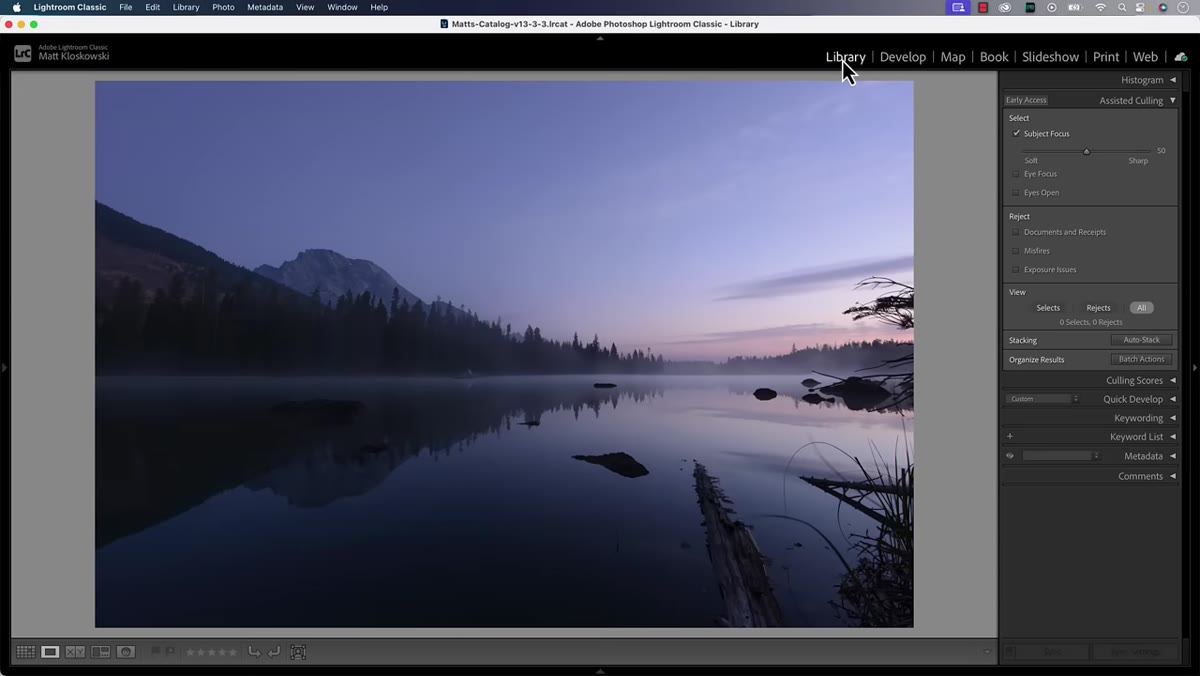 Assisted Culling panel open in the Library module
Head to the Library module and open the Assisted Culling panel on the right side. This is where Adobe made their first announced improvement: model upgrades to the AI that powers assisted culling. There are no new sliders, no new buttons, and no new settings to configure. The change is under the hood, similar to a speed or accuracy improvement that Adobe would typically push silently in a point release.
Assisted Culling panel open in the Library module
Head to the Library module and open the Assisted Culling panel on the right side. This is where Adobe made their first announced improvement: model upgrades to the AI that powers assisted culling. There are no new sliders, no new buttons, and no new settings to configure. The change is under the hood, similar to a speed or accuracy improvement that Adobe would typically push silently in a point release.
If you’re already using Assisted Culling to triage large shoot volumes, you may notice the suggestions feel slightly more accurate over time. If you’ve turned Assisted Culling off entirely because the AI picks didn’t match your eye, this update probably doesn’t change that. Matt mentions he keeps the feature disabled, and I’ll be honest, I’ve toggled it on and off myself depending on the shoot. For documentary and street work where the “decisive moment” is genuinely subjective, AI culling still struggles. For portraits with clear technical benchmarks like sharp eyes and good expression, it performs better.
Step 3: Import or Export WebP Files
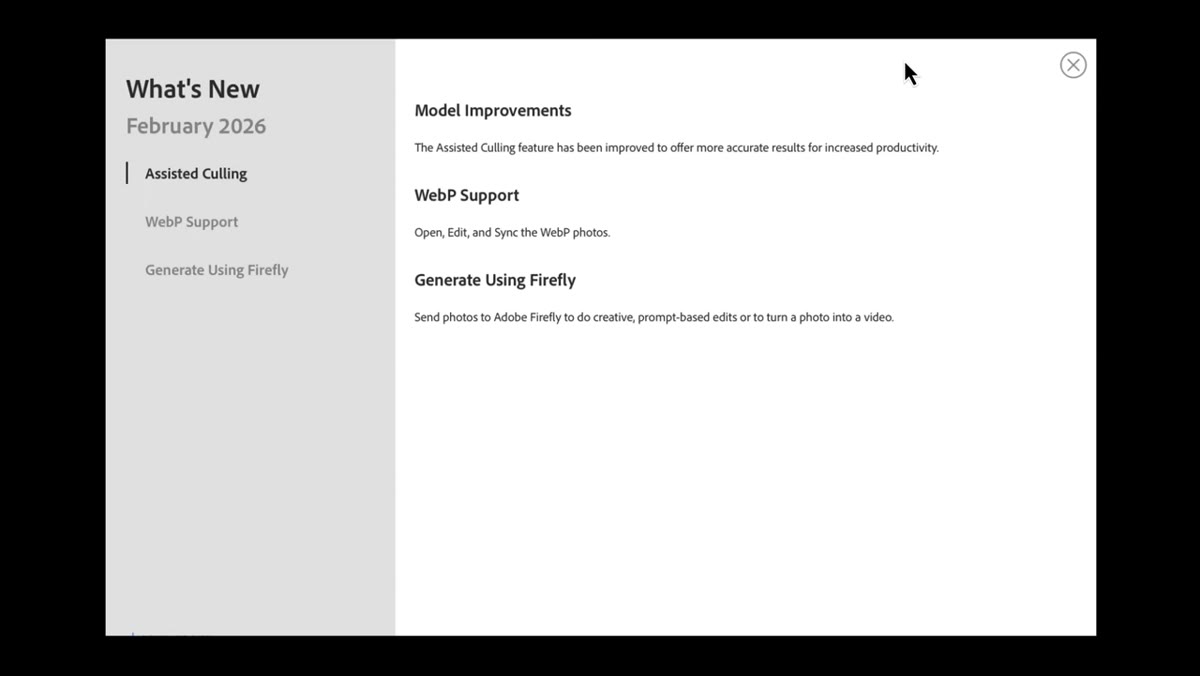 WebP format option visible in Lightroom’s export or import dialog
WebP is Google’s image format, originally designed to deliver smaller file sizes than JPEG while maintaining comparable visual quality. Lightroom now supports it natively, meaning you can import WebP files into your catalog and export finished edits in the WebP format.
WebP format option visible in Lightroom’s export or import dialog
WebP is Google’s image format, originally designed to deliver smaller file sizes than JPEG while maintaining comparable visual quality. Lightroom now supports it natively, meaning you can import WebP files into your catalog and export finished edits in the WebP format.
To export as WebP, go to File, then Export, and look for WebP in the image format dropdown alongside JPEG, TIFF, and PNG. This matters most if you’re delivering images directly for web use, particularly for clients who are optimizing page load speeds or working within a CMS that prefers WebP. If your entire workflow ends with printing or delivering TIFFs to a retoucher, this feature may sit dormant for you. But if you do any commercial photography where web delivery is part of the package, having native WebP export is a quiet quality-of-life win.
Step 4: Use “Generate with Firefly” to Edit a Photo via AI
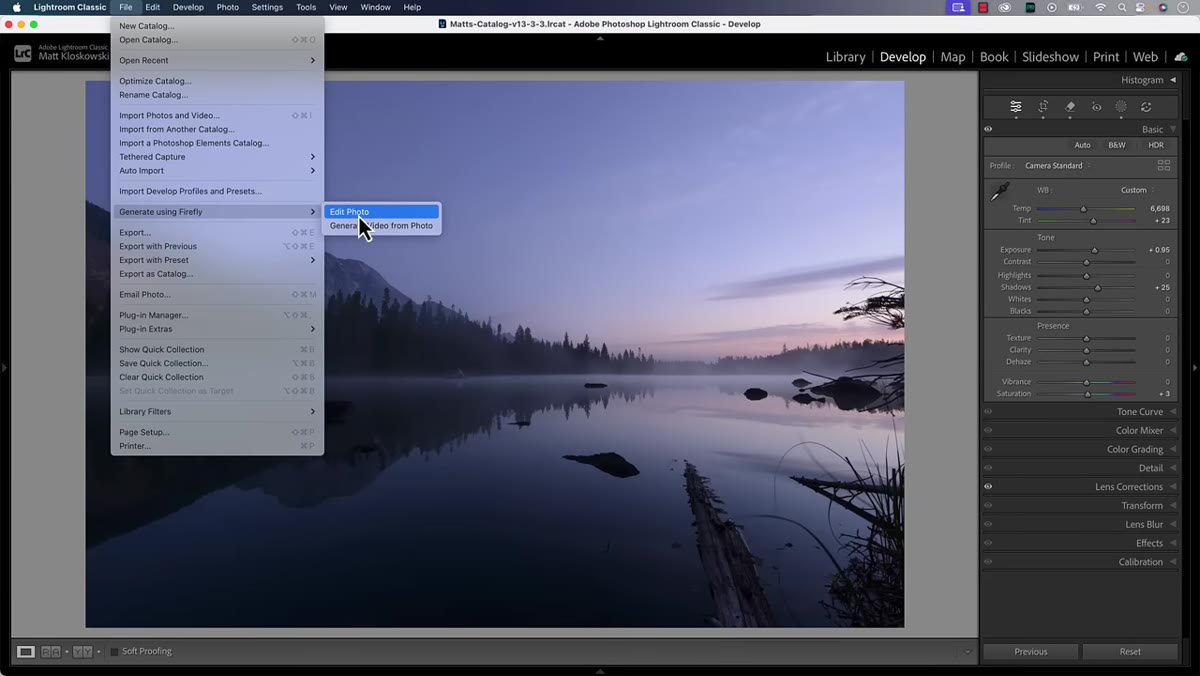 File menu open showing Generate Using Firefly options
This is the feature getting the most attention in this update. Go to the File menu in Lightroom Classic and you’ll see a new option: “Generate Using Firefly.” Under it, you get two choices. The first is to edit the photo using AI. Select it, and Lightroom will open your image in your default web browser, logged into your Adobe account, where you access Adobe Firefly’s generative tools.
File menu open showing Generate Using Firefly options
This is the feature getting the most attention in this update. Go to the File menu in Lightroom Classic and you’ll see a new option: “Generate Using Firefly.” Under it, you get two choices. The first is to edit the photo using AI. Select it, and Lightroom will open your image in your default web browser, logged into your Adobe account, where you access Adobe Firefly’s generative tools.
From there, you can type a text prompt describing what you want added or changed. Matt’s example was adding a flock of birds to a sky. You can also select which Firefly model handles the generation, and before you commit, the interface shows you exactly how many generative credits the task will consume. Credits are account-dependent and tied to your Adobe subscription tier. If you’re unsure how many credits you have or what your plan includes, Adobe support is the right call. No tutorial comment section, including mine, can answer billing questions.
Step 5: Use “Generate Video from Photo” for Motion Content
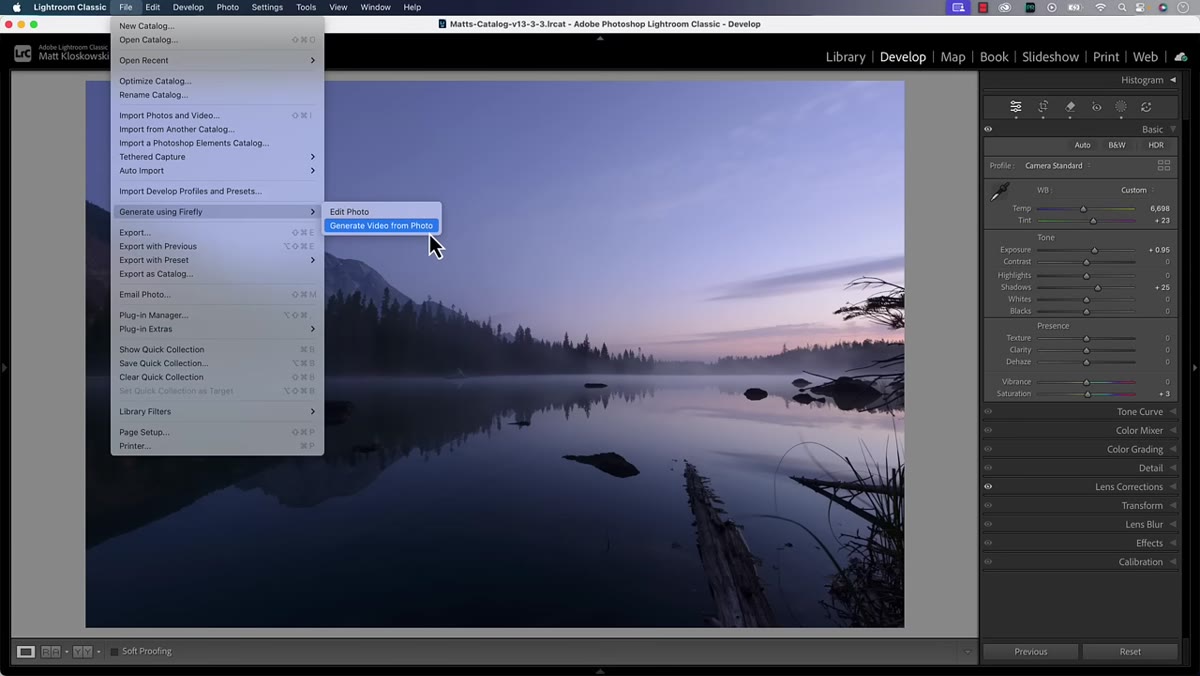 File menu showing Generate Video from Photo option
The second Firefly option in that same File menu is generating a video from a still photo. This uses Adobe’s AI to animate your image into a short video clip, again via the browser-based Firefly interface. The credit cost here is higher than the still editing option, so check your balance before experimenting casually.
File menu showing Generate Video from Photo option
The second Firefly option in that same File menu is generating a video from a still photo. This uses Adobe’s AI to animate your image into a short video clip, again via the browser-based Firefly interface. The credit cost here is higher than the still editing option, so check your balance before experimenting casually.
The practical use case is narrow but real. If you shoot product photography or event stills and a client occasionally asks for social media video content, this is a faster path than jumping into After Effects or outsourcing the motion work. It won’t replace dedicated motion design, but for simple, atmospheric clips, it could save an awkward conversation about scope.
My Take: The Firefly Integration Raises a Reasonable Question
I’ve been using Lightroom as my primary editing environment for years, and I have strong opinions about keeping the tool focused. When I first saw the Firefly menu item, my reaction was that this felt like a feature added for the press release rather than the workflow. Photoshop already handles generative AI editing with more precision and control. If you have a Creative Cloud plan that includes Photoshop, doing this work there makes more practical sense.
That said, I can see the argument for having it in Lightroom. Not everyone on a photography-specific Adobe plan has Photoshop. For someone running Lightroom-only, having a generative AI option available without switching apps or paying for an additional subscription is genuinely useful. I just want to be clear that this is a browser-based hand-off, not a native Lightroom tool. You’re leaving the application to do the work. Keep that in mind when you’re quoting turnaround times to clients.
The one feature I’m genuinely glad to see is WebP support. It’s small, unglamorous, and it arrived a few years after most web developers started asking for it. But it’s here now, and it works cleanly within the existing export workflow.
The real takeaway from this update is that Adobe is threading Lightroom into a larger AI ecosystem. That direction will either excite you or frustrate you depending on what you bought Lightroom to do. For now, the core editing and organization tools you rely on daily are unchanged, and that’s probably fine.
Watch the full tutorial on YouTube to see Matt’s live walkthrough, including his commentary at the end on where Adobe seems to be taking this application.
Comments (4)
Love how you break down complex stuff into manageable steps.
Solid advice. Especially the part about taking your time with it.
Applied this to my portfolio shots and the improvement is noticeable.
Well explained. I think my audience would really benefit from this — mind if I link to it?
Leave a Comment