The Cinema Look in Lightroom: A Step-by-Step Breakdown That Actually Makes Sense

The Cinema Look in Lightroom: A Step-by-Step Breakdown That Actually Makes Sense

Every photographer hits a wall at some point where their images look technically correct but emotionally flat. Sharp, well-exposed, properly white-balanced – and somehow completely lifeless. That gap between a clean photo and a cinematic photo is something I spent a long time trying to close before I started really pulling apart tutorials from people who had already solved the problem. In this Kelvin Designs tutorial, Kelvin walks through how to build the cinema look from scratch in Lightroom, working through both a portrait and a landscape.

How I Finally Stopped Losing Weekends to Lightroom (And What Pierre T. Lambert Taught Me About It)

How I Finally Stopped Losing Weekends to Lightroom (And What Pierre T. Lambert Taught Me About It)

I used to joke that my editing backlog was its own form of cardio — the anxiety of staring down 800 unedited photos after a shoot kept my heart rate elevated for days. And the honest truth is, most of those hours in front of a screen weren’t making my photos dramatically better. They were just making me tired. If you shoot anything at volume, whether that’s weddings, travel, or even just personal projects you care about, the editing bottleneck is real and it compounds fast.

From Flat RAW to Finished Landscape: A Full Lightroom-to-Photoshop Workflow Breakdown

From Flat RAW to Finished Landscape: A Full Lightroom-to-Photoshop Workflow Breakdown

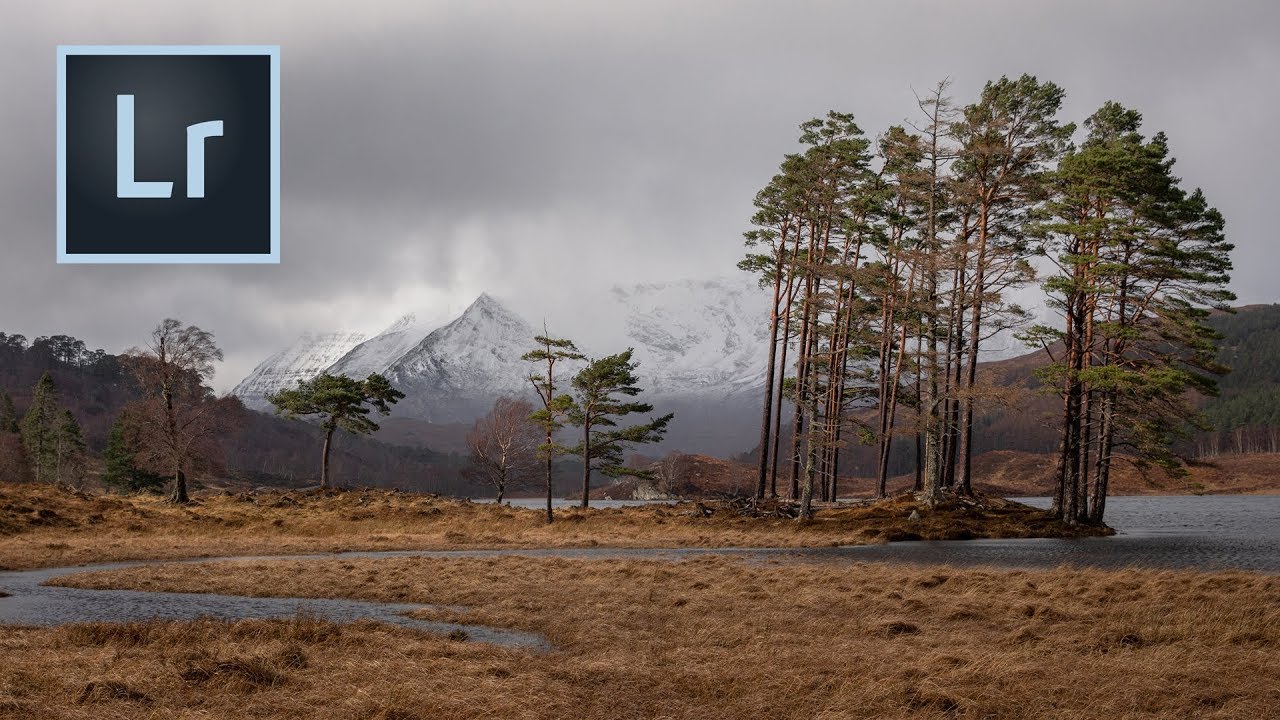
There’s a specific kind of editing problem that used to eat my lunch every time: a landscape shot where the sky is blowing out, the foreground is too dark, but the foreground also has bright spots that make a single global exposure adjustment completely useless. You bring the sky down and the boats (or rocks, or buildings) go muddy. You lift the shadows and the sky turns white. Classic trap. I’ve been editing landscape photos for years and this balancing act still requires a real strategy, not just a drag of the Exposure slider.

Split-Tone Any Photo in Photoshop Using Fill Layers (It's Faster Than You Think)

Split-Tone Any Photo in Photoshop Using Fill Layers (It's Faster Than You Think)

Most of my color work happens in Lightroom. That’s my home turf. But every so often a technique shows up in Photoshop that’s so clean, so flexible, that I have to stop and pay attention. This is one of those techniques. In this Aaron Nace (PHLEARN) tutorial, the concept is deceptively simple: drop a solid color fill layer on your image, change the blend mode, and suddenly you’re color grading like you’ve been doing it for years.

Why Your Digital Photos Look Too Clean (And How Film Emulation Fixes It)

Why Your Digital Photos Look Too Clean (And How Film Emulation Fixes It)

I was editing press shots for my band late one night, somewhere around 1 a.m., when I realized the photos looked like a dental office brochure. Sharp. Bright. Perfectly exposed. Completely soulless. We’d rented a decent venue, worn the right clothes, and the lighting had actually cooperated for once. But something about the RAW files from my Canon R6 made us look like stock photo models instead of a real band with real gigs.

The Photoshop Toolkit Sue Bryce Actually Uses for Portrait Retouching (And Why It's Faster Than You Think)

The Photoshop Toolkit Sue Bryce Actually Uses for Portrait Retouching (And Why It's Faster Than You Think)

There’s a specific kind of editing paralysis that hits when you’re staring at a folder of 80 portrait images and you know, deep down, that your retouching process is going to eat your entire afternoon. I’ve been there. I spent years building Lightroom workflows designed to get me out of that trap, and somewhere along the way I started paying close attention to how working portrait photographers structure their Photoshop side of things, not just the catalog management and global adjustments, but the actual per-image muscle memory.

Shadow Recovery Is Killing Your Photos (Here's How to Fix the Noise It Creates)

Shadow Recovery Is Killing Your Photos (Here's How to Fix the Noise It Creates)

There’s a trade-off nobody warns you about when you first start editing in Lightroom. You shoot something in low light, you get it into the Develop module, and you drag those shadows up to rescue all that beautiful detail you knew was hiding in the dark. The image opens up. You feel like a genius. Then you zoom in and see it: grain. Speckles. A texture that looks less like film and more like your sensor had a bad night.

Selective Hue Adjustment in Lightroom Classic: The Feature Editors Have Been Begging For

Selective Hue Adjustment in Lightroom Classic: The Feature Editors Have Been Begging For

There’s a specific kind of frustration that every Lightroom editor knows. You’ve got a portrait where the background is a warm, muddy green and you want it cooler. Or you shot golden hour and the highlights went a little too orange on someone’s skin. You open the HSL panel, drag the hue slider, and watch the color shift everywhere at once, including in places you absolutely didn’t want it to touch.

HSL in Lightroom: The Adjustment Most Editors Use Wrong (And How to Fix That)

HSL in Lightroom: The Adjustment Most Editors Use Wrong (And How to Fix That)

I was editing a portrait last fall and something was bothering me about the skin tones. The overall exposure was solid, the white balance was dialed in, but the subject looked vaguely radioactive. That particular shade of orange that creeps into skin when you push a warm preset too hard. My first instinct, the instinct every beginner has, was to reach for the Temperature slider and walk it back. That would have fixed the skin and wrecked everything else in the frame.

Three Radial Filters and a Black-and-White Conversion: The Depth Portrait Trick I Use Every Week

Three Radial Filters and a Black-and-White Conversion: The Depth Portrait Trick I Use Every Week

Portrait work has a specific problem that nobody warns you about when you’re starting out. You shoot in decent light, you nail the focus, and then you open the file in Lightroom and the subject just sits there, flat against the background like they were cut out of a magazine and glued onto a different photo. No separation, no depth, no sense that the camera actually cared more about them than anything else in the frame.

The Lightroom Calibration Panel Is Doing Something Weird to Your Colors (And You Should Let It)

The Lightroom Calibration Panel Is Doing Something Weird to Your Colors (And You Should Let It)

There’s a panel in Lightroom that I ignored for an embarrassingly long time. Not because I didn’t know it existed, but because every time I opened it, nothing about it made intuitive sense. The sliders didn’t behave the way I expected. The results felt accidental. So I’d close it and go back to the HSL panel where everything felt safe and logical. I suspect most editors do the same thing, because the Camera Calibration panel has the energy of a mysterious neighbor you’ve never actually talked to.

How to Pull a Usable Image Out of an Underexposed RAW File in Lightroom

How to Pull a Usable Image Out of an Underexposed RAW File in Lightroom

We’ve all been there. You’re out shooting, the light is doing something genuinely magical, you fire off the shot, and then you look at the back of the camera and feel your stomach drop. The exposure is off. Two stops under, maybe more. The moment is gone and you’re left with a dark, flat file that looks like it belongs in the trash. I used to think those shots were just losses.