Lightroom to Photoshop: How Smart Objects and Multi-Layer Editing Finally Work Together

Lightroom to Photoshop: How Smart Objects and Multi-Layer Editing Finally Work Together

For a long time, switching from Lightroom (the cloud-based version, not Classic) to Photoshop felt like stepping off a moving train. You could get there, but you gave up a lot of control over what happened next. Specifically, the ability to send a photo to Photoshop as a smart object, open multiple layers, and move between Camera Raw and Photoshop without blowing up your whole editing session - those features just weren’t there.

Stop Drowning in Photos: How to Cull Your Lightroom Catalog Like a Pro

Stop Drowning in Photos: How to Cull Your Lightroom Catalog Like a Pro

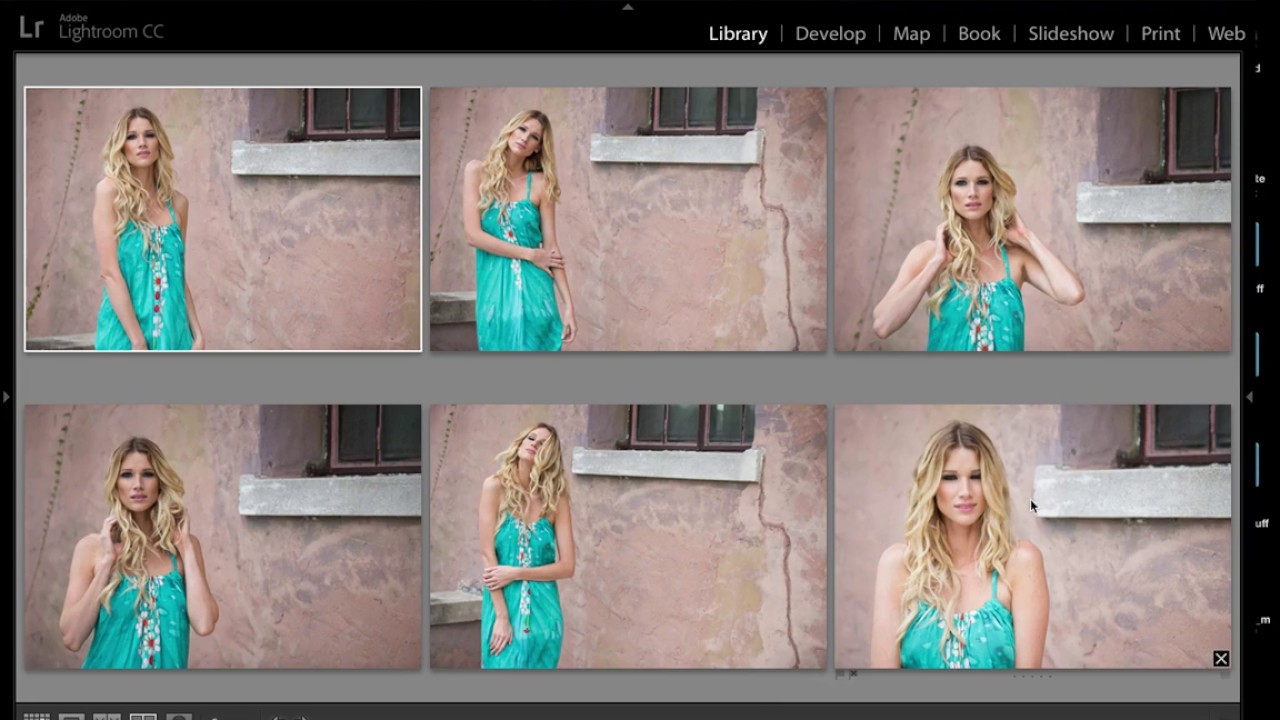
I used to dread the part of a shoot that came after the shooting. Not the editing - I genuinely love editing. The part I dreaded was sitting down to a folder of 400 nearly identical frames and trying to figure out which three were worth keeping. For a long time I just brute-forced it, clicking through every image one by one, second-guessing myself the whole way. It was slow, exhausting, and guaranteed to make me hate photos I should have loved.

Why Your Lightroom Presets Look Nothing Like the Preview (And How to Fix That)

Why Your Lightroom Presets Look Nothing Like the Preview (And How to Fix That)

I once spent an entire weekend building a preset pack from scratch. Forty-seven presets, named after Fleetwood Mac songs, each one tuned to a specific mood and light condition. I put them up for free download on a Monday morning, went to make coffee, and came back to 3,000 downloads. By Friday it was 50,000. The emails started almost immediately, and about half of them said the same thing: “These look nothing like your screenshots.

The Lightroom Variance Tool Is Quietly Fixing My Worst Sky Photos

The Lightroom Variance Tool Is Quietly Fixing My Worst Sky Photos

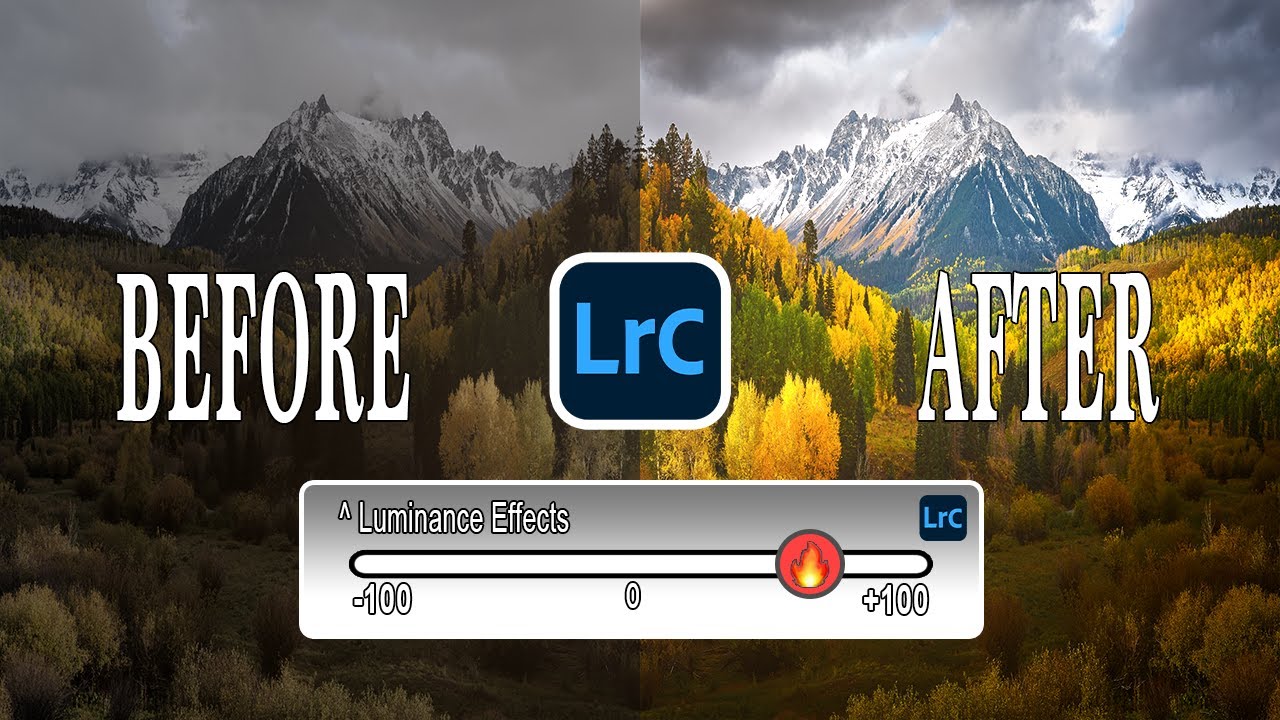
There’s a shot I’ve taken probably a hundred times at Radnor Lake. Wide angle, polarizing filter, golden hour. The composition is solid every time. The sky ruins it about half the time. Not because of clouds or blown highlights, but because of that banded, uneven blue you get when you shoot wide with a polarizer. One side of the sky goes deep navy. The other fades to something closer to periwinkle.

How to Use Stock Holiday Graphics as Lightroom Overlays (Without It Looking Cheap)

How to Use Stock Holiday Graphics as Lightroom Overlays (Without It Looking Cheap)

Every December I end up with the same client request: make this portrait feel festive without it looking like a greeting card from 2009. For a long time my answer was a wreath Lightroom border or a cheesy preset with fake snow. Neither felt right. What I actually wanted was a way to drop tasteful supporting graphics around a photo, keeping the image itself as the hero while the decorative elements did quiet, intentional work around it.

The 10-Minute Lightroom Landscape Workflow That Actually Holds Up

The 10-Minute Lightroom Landscape Workflow That Actually Holds Up

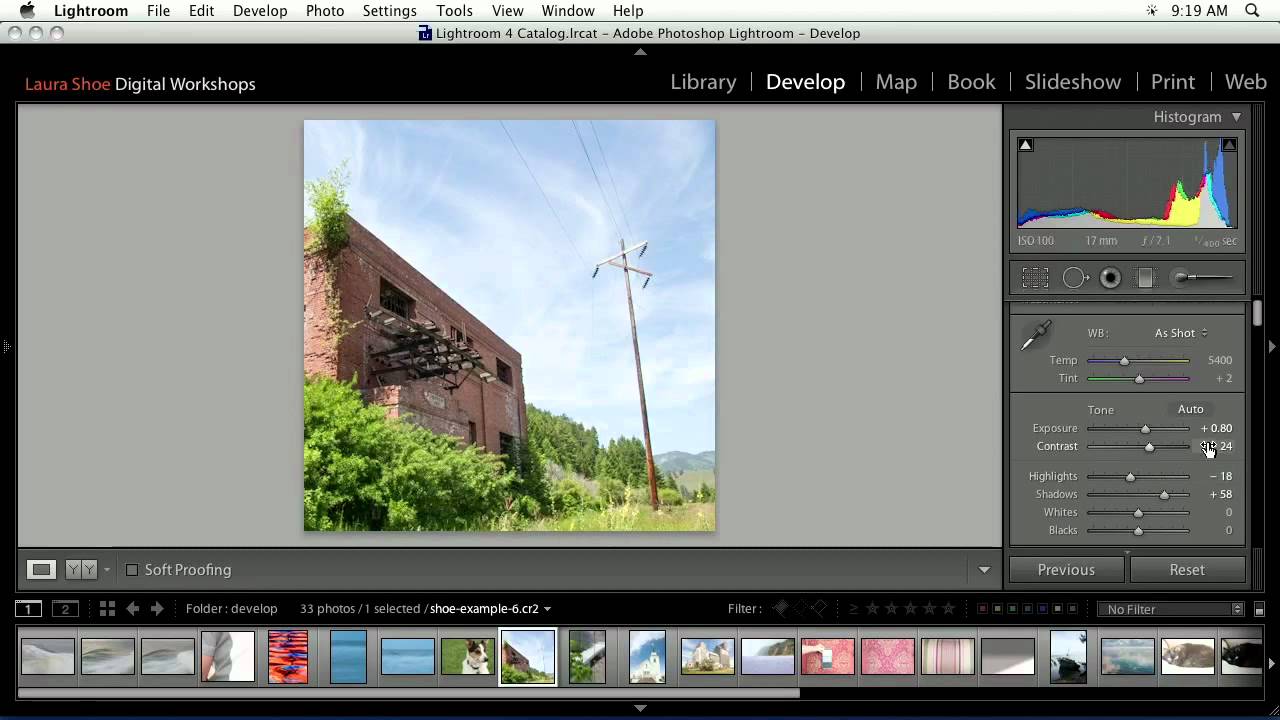
Every landscape photo I’ve edited in a hurry has the same problem: I rush the foundation. I skip lens correction, eyeball the exposure, and convince myself I’ll fix the color “later.” Later never comes, and the image ends up sitting in a reject folder next to seventeen other almost-good shots from a trip I was genuinely excited about. That’s why this tutorial from Mark Denney landed so well for me. It’s a Lightroom-only landscape workflow, no Photoshop, no plugins, no excuses.

Why Your Colors Look Flat After Editing (And the Lightroom Workflow That Fixes It)

Why Your Colors Look Flat After Editing (And the Lightroom Workflow That Fixes It)

I used to export a photo, post it, and immediately see what was wrong with it. The colors looked fine in Lightroom. On Instagram, everything went a little gray and dead. This happened to me for months before I finally slowed down and figured out why, and the answer wasn’t a better preset or a fancier monitor. It was the order in which I was doing things. Color grading in Lightroom isn’t just about moving sliders until something looks cool.

How to Color Grade Video in Photoshop (And Why Your Photo Editing Skills Already Got You Halfway There)

How to Color Grade Video in Photoshop (And Why Your Photo Editing Skills Already Got You Halfway There)

Most of my work lives in Lightroom. Presets, tone curves, HSL panels — that’s my natural habitat. But clients don’t always hand me JPEGs anymore. More and more, they’re showing up with phone footage, drone clips, or short brand videos that need to match the look of the stills I’ve already edited for them. For a long time, I treated that as a separate problem requiring a separate tool. Turns out I was making it harder than it needed to be.

Lightroom CC Just Got Faster — Here's How to Actually Turn That Speed On

Lightroom CC Just Got Faster — Here's How to Actually Turn That Speed On

There’s a particular kind of frustration that comes from painting a local adjustment brush across a high-resolution RAW file and watching Lightroom chug along like it’s thinking really hard about your life choices. I’ve been there more times than I’d like to admit. It’s the kind of lag that makes you question your hardware, your file format, your entire career path. So when Adobe dropped Lightroom CC with a serious architecture overhaul under the hood, I paid attention immediately.

Lightroom 6/CC: An Honest Field Report on the Features Adobe Said Would Change Everything

Lightroom 6/CC: An Honest Field Report on the Features Adobe Said Would Change Everything

Every so often Adobe drops a major Lightroom release and the photography internet loses its mind. Speed boosts. AI features. Workflow revolution. I’ve been through enough of these cycles to know that the gap between the press release and the actual editing desk can be enormous. When Lightroom 6 and Lightroom CC landed, I was deep in the middle of editing a portrait session and genuinely needed to know whether upgrading mid-project was going to help me or blow up my afternoon.

HSL in Lightroom: The Adjustment Most Editors Treat Like a Finishing Touch (It Shouldn't Be)

HSL in Lightroom: The Adjustment Most Editors Treat Like a Finishing Touch (It Shouldn't Be)

I was staring at a portrait last week, one of those golden-hour shots where the skin tones look almost right but something is pulling the whole image toward orange sherbet. The tone curve was clean. The white balance was dialed. And I kept reaching for the saturation slider like it was going to solve something it was never designed to solve. The HSL panel fixed it in about forty seconds.

Virtual Copies in Lightroom: How to Deliver More Without Working More

Virtual Copies in Lightroom: How to Deliver More Without Working More

There’s a particular kind of client email I used to dread. The one that comes in two days after delivery asking if you can send “a few black and white versions too, and maybe one with a warmer feel?” Back when I was editing press shots for my band on a budget and no one else was going to do it, I learned fast that re-editing six photos three different ways could eat an entire afternoon.